
Glitch toolbox: badpng
This small commandline tool by Andi McClure takes your png files and transforms them in interesting ways. It’s available in source form on bitbucket, you can get a ready-to-use version here, bundled with a small howto (which is reposted below; hopefully it makes sense, let me know if you have problems with it).
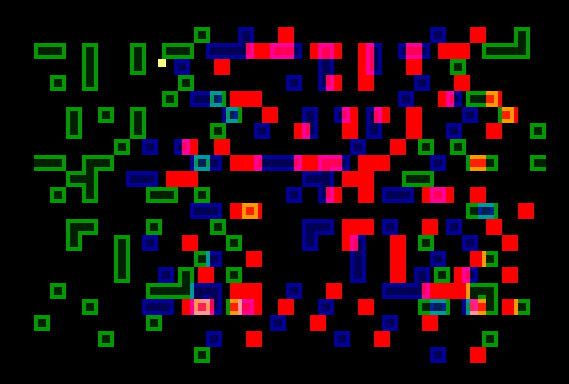
But first some samples of what it can do:



Quick HOWTO:
1) Unzip the folder somewhere, you’ve probably already done this if you are reading this :). I suggest putting the folder as near as possible to the root of your hard drive. For instance, mine is in c:\tools.
2) Open a windows command prompt, it’s somewhere in your start menu. If you can’t find it, you can also launch it by pressing the Windows key and ‘R’, and typing “cmd.exe” in the box that appears.
3) Type “cd”, a space, then the full path of the badpng folder. If the path includes spaces, you have to put it between double quotes, otherwise windows will get confused. That’s where it pays to have short, space-less paths for those tools. Here’s what it looks like on my machine:
cd c:\tools\badpng
Press return and you’re inside the badpng folder.
4) Now all you have to is launch badpng with the path of your source image, and the path of the saved image. It looks like this:
badpng c:\images\mysourceimage.png c:\images\mysourceimage-glitched.png
If you don’t like typing, you can copy your image(s) to the folder where badpng.exe is, so you don’t have to type the entire path. It would look like this:
badpng mysourceimage.png mysourceimage-glitched.png
Extra notes:
– You don’t have to use the “cd” command to move into the badpng folder, you can use badpng from anywhere if you type its full path so windows knows how to find it. It looks like this:
c:\tools\badpng\badpng.exe c:\images\mysourceimage.png c:\images\mysourceimage-glitched.png
(of course the paths will probably look different on your machine).
– If you do something cool with it let me know (@emptyfortress on twitter), I’d love to see it.
